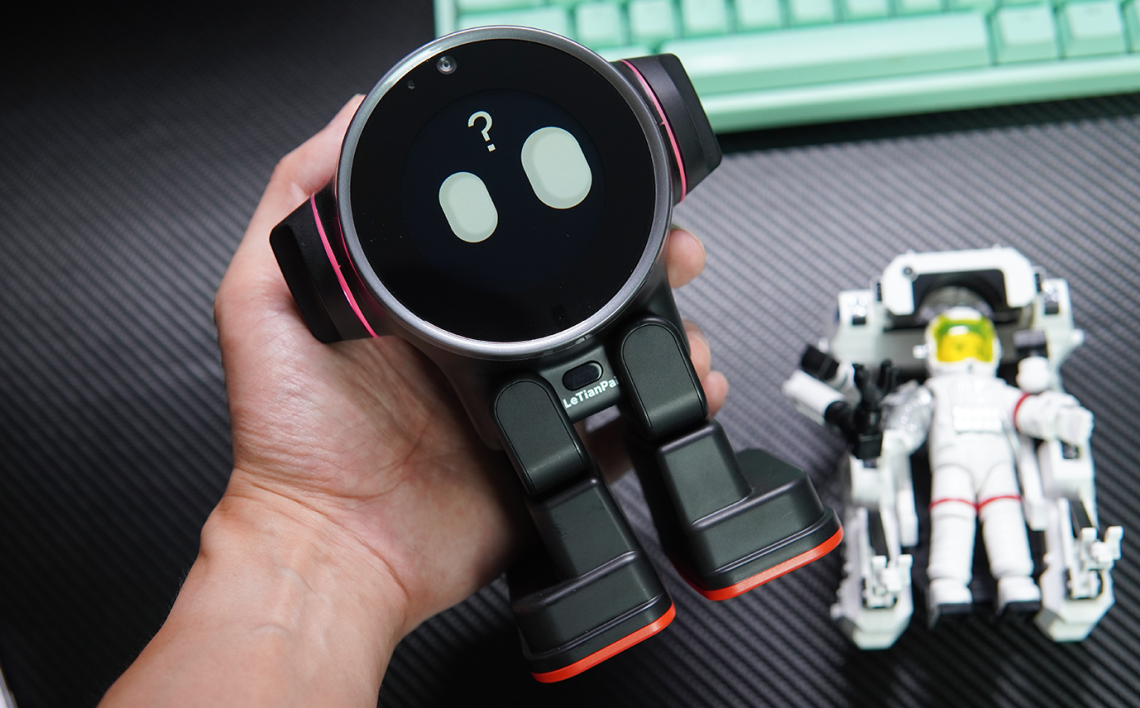
Rux Robot FAQ
-
Quick To Use – Japanese version
Rux Robot 使用上のヒント To charge the robot, please use a 5V2A or 9V2A power adapter paired with the original data cable. Before using voice commands, please select the language that needs to be used for voice conversations in App ‘Wake and Talk’ Common function Wake up Rux End Chat Switch to Pet robot Music Dance Face Companionship and entertainment Let robot–Switch to a pet robot Let robot–Show Face Let robot–Dance Let robot–Play music Let robot–Teach letters Let robot–B-BOX Let robot–Solo Let robot–Performance Let robot–Halloween wishes Let robot–New Year wishes Let robot–Christmas wishes Let robot——Simulated animals Let robot–Eat banana Let robot–Eat noodle Let robot–Play Tetris Let robot–Show keyboarding Let robot– Play…
-
Robot Binding Network Tutorial
The robot supports 3 network configuration methods, pairing code binding, code scanning binding, and Bluetooth binding. After version 1.2.03071.u, it is recommended to complete the binding through the latest pairing code binding method. This is the latest and most convenient binding method. Code binding Please follow the steps below to bind: Scan bind It can only be used when the robot version is 1.2.02231.u or below. Please follow the steps below to bind Bluetooth binding Bluetooth binding can only be used with robot versions below 1.2.01293.u. Step 1 Check whether the permissions have been turned on and log in to the APP Step 2 At the same time, plug the…
-
How to play AI Games?
AI Games are a combination of visual algorithms, speech algorithms, gyroscopes, and other abilities. By referring to the usage tips below, you can better experience the fun brought by AI. Shooting Entering the wake-up mode: “Hi Rux, hands up”, the robot will enter a fearful shake.At this point, make a “Gun” gesture with your hand towards the robot and shout “Bong” to shoot, and the robot will be hit. If the robot does not provide feedback, it means it did not hit. You can move your hand and repeat the above steps a few more times. Tip: When the robot sees the gesture of the gun, it will be very…
-
RUX Robot User Manual
Hi, welcome to Rux Robot. The following content is for getting started quickly and helping you get to know it faster. We will continuously update and improve the manual. Power on Please use the original USB data cable to connect the 5V2A supported power adapter to the USB-C port on the back of the robot, and power it on;The robot will display a bound QR code and robot number. Pair Next, you can refer to the Quick To Use to start using robots If you encounter any problems during use, please check the FAQ here. FAQ URL
-
Rux Robot flashing tutorial – Release version
Environment: Windows, the following demonstration environment is Windows 11 Prepare the flashing tool: USB driver package download address: https://cdn.file.letianpai.com/c30446f3ed36e314dd86927564b30832/factory_release/Tools/驱动包-DriverAssitant_v5.1.1.zip RK flashing tool download address: https://cdn.file.letianpai.com/c30446f3ed36e314dd86927564b30832/factory_release/Tools/RKDevTool_Release_v2.95.zip Prepare system installation package: Ordinary User Release version system installation package download address (The latest system package is geeui 1.201293.u version): https://d4owc89rbj03p.cloudfront.net/ota/geeui_1.2.01293.u_firmware_image/update.img.zip Steps for flashing: Step 1: Install the USB driver package Unzip the USB driver package and open DriverAssistant_ V5.1.1, double-click DriverInstallexe Step 2: Open the RK flashing tool Enter RKDevTool_ Release_ V2.95 directory, open RKDevToolexe Open Ruixin Micro Development Tool Step 3: Select the installation package and flash the machine Click on the flashing tool “Upgrade Firmware” ->”Firmware” and select the system installation…
-
Support
You can get human customer support in the following ways,Our working hours are 9:30-24:00 Beijing time。 Email You can email us for customer support:we@letianpai.com Facebook Messenger Open https://www.facebook.com/RuxRobot ,Send Message to me, or Scan code. Whatsapp WeChat Use Wechat to scan the QR code below to add our customer service manager.
-
Robot binding and network distribution
Keywords: binded, networking, Wi-Fi The following information needs to be ensured for robot networking To ensure a smooth pairing process, please confirm that the robot is in a charging state during the distribution process to avoid interruptions during the distribution process. Can’t find the robot on the phone after re networking? The reason for this issue is that the robot needs to use relevant permissions during the network pairing process. Please follow the following steps for troubleshooting: Binding failed with prompt ‘device is already binded’? This is because Robot has already been bound to another account. Please check the following steps
-
Tutorial on forcing a robot to flash ROM under abnormal circumstances
Need to prepare tools Flashing process 2. Press and hold the reset hole of the robot with a card pin to shut it down. 3. Refer to the video to open the screen panel of the robot 4. Use a USB-C data cable to connect the robot, keeping the other end of the USB-C data cable unconnected to any devices, as shown in the figure below. 5. Find a pair of metal tweezers and press both ends of the tweezers against the two metal dots on the robot screen panel to maintain the connection. The specific metal dots are shown in the figure below to ensure that they are not…
-
How to switch between different ‘AI voice engines’?
The Rux Robot can very easily replace the voice dialogue engine of the AI large model, thereby achieving your customized voice dialogue ability. Whether it is ChatGPT 3.5 or ChatGPT 4.0, you can achieve it. However, this function requires a certain technical ability. You can refer to this article to attempt to replace the AI large model.
-
Rux Robot flashing tutorial – Full ROOT version
Instructions for flashing: Users who swipe in the full ROOT version ROM firmware package on their own will no longer enjoy the three guarantees policy for normal product use.Brushing the machine carries risks, non professionals should not attempt it. Environment: Windows, the following demonstration environment is Windows 11 Prepare the flashing tool: USB driver package download address: https://cdn.file.letianpai.com/c30446f3ed36e314dd86927564b30832/factory_release/Tools/驱动包-DriverAssitant_v5.1.1.zip RK flashing tool download address: https://cdn.file.letianpai.com/c30446f3ed36e314dd86927564b30832/factory_release/Tools/RKDevTool_Release_v2.95.zip Prepare system installation package: The download address for the regular User Full Root version system installation package is: https://d4owc89rbj03p.cloudfront.net/ota/geeui_1.2.02272.d/update_Android_Debian_GeeUI.1.2.02272.d.img.zip Steps for flashing: Step 1: Install the USB driver package Unzip the USB driver package and open DriverAssistant_ V5.1.1, double-click DriverInstallexe Step 2: Open the RK flashing…

