Robot Binding Network Tutorial
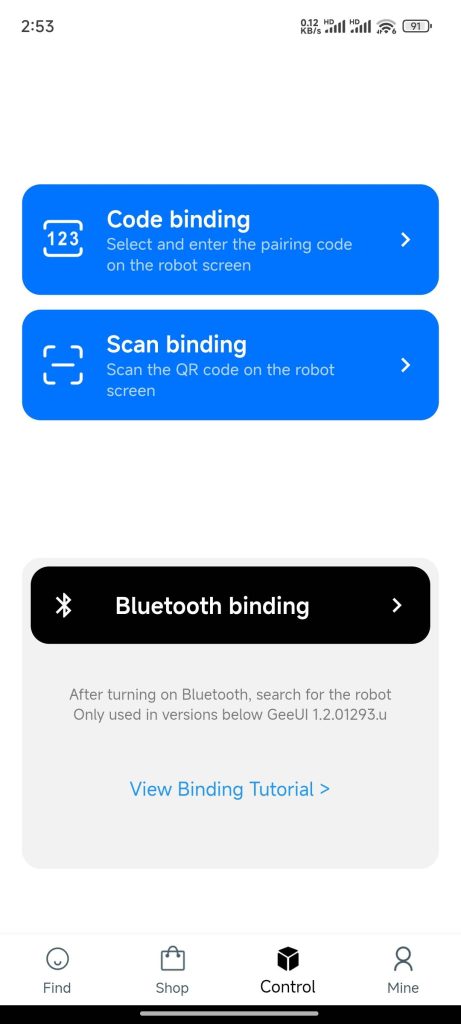
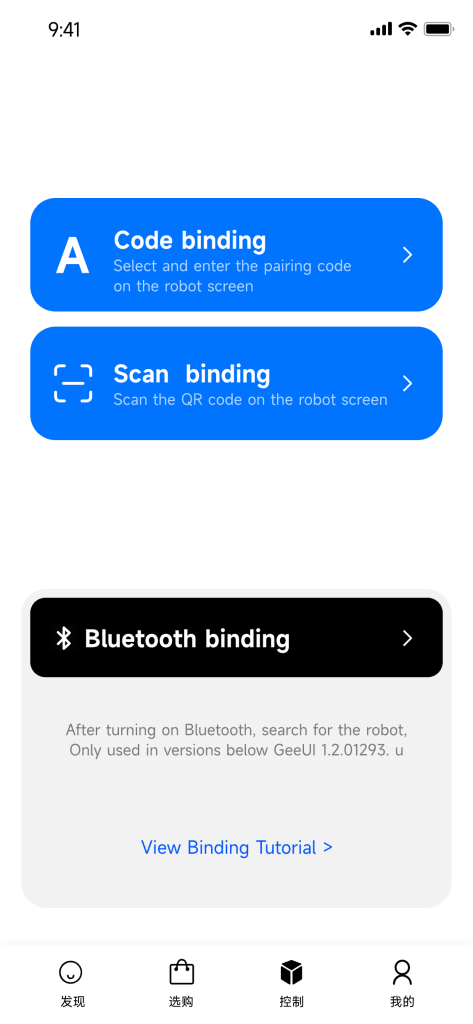
The robot supports 3 network configuration methods, pairing code binding, code scanning binding, and Bluetooth binding. After version 1.2.03071.u, it is recommended to complete the binding through the latest pairing code binding method. This is the latest and most convenient binding method.
Code binding
Please follow the steps below to bind:
- Download Letianpai APP and successfully log in to Letianpai APP using email registration, Apple login, WeChat login, etc.
- Enter the APP-Control page and view the pairing code
- Power up the robot
- Enter the Wi-Fi password on the robot screen to complete networking
- The robot will check whether there is the latest version. If there is a new version, it will automatically update. After the update is completed, just start again from step 1.
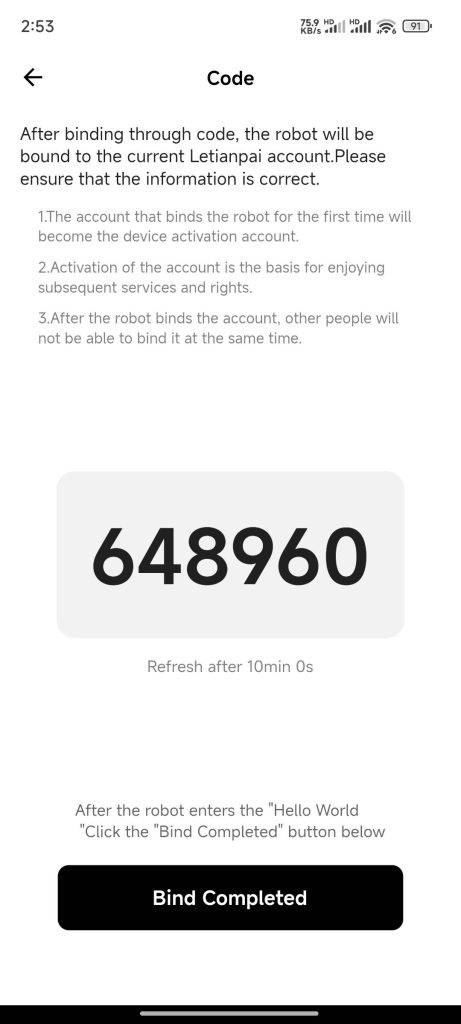
- Enter the pairing code displayed on the APP on the robot screen to complete the binding.
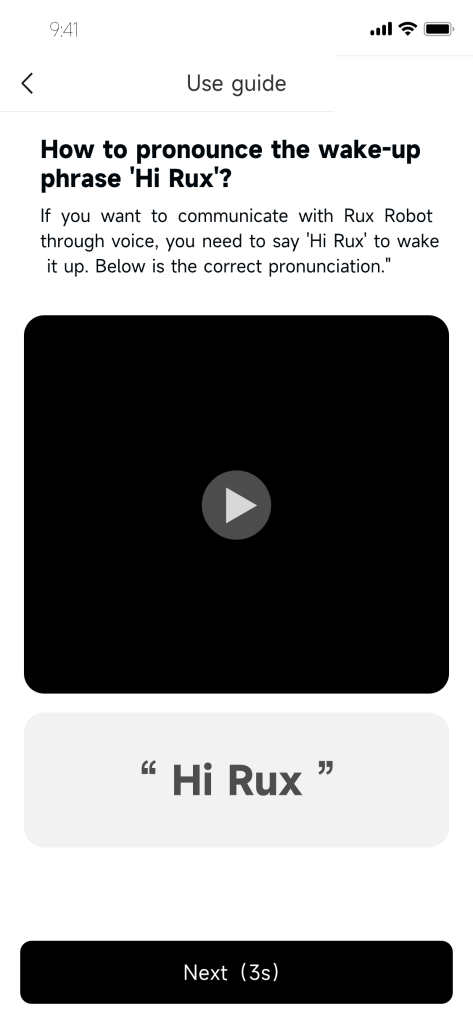
- After the robot enters the Hello World page, click “Binding Complete” on the APP, and the APP will enter the learning guide. After completing the learning according to the prompts, you will enter the robot “Control” page.
- At this point, the robot has been successfully bound.
Scan bind
It can only be used when the robot version is 1.2.02231.u or below.
Please follow the steps below to bind
- Download Letianpai APP and successfully log in to Letianpai APP using email registration or Apple login.
- Enter the APP-Control page and select “Scan QR code to bind”
- Power up the robot
- Enter the Wi-Fi password on the robot screen to complete networking
- Use the APP to scan the QR code on the screen, confirm and complete the binding, and complete the usage guide
- The robot will enter the Hello world page
Bluetooth binding
Bluetooth binding can only be used with robot versions below 1.2.01293.u.
Step 1
Check whether the permissions have been turned on and log in to the APP
- Turn on the “Positioning”, “Wi-Fi” and “Bluetooth” switches on your phone.
- If what appears is a WeChat applet QR code or a square optimist QR code, you can follow this step.
- Open the Lotte Pai APP and log in successfully using email or other methods.
Step 2
At the same time, plug the charging cable connected to the power supply into the USB-C interface on the back of the robot to turn it on; you need to use a 5V2A charger with the original data cable.
The QR code will be displayed on the robot screen.
Step 3
- Enter the “Control” page, click the plus sign to add a device, and follow the prompts to enable permissions to locate and scan nearby devices.
- If you click Deny, press and hold the Lotte Pai icon on the mobile phone desktop to view application information, and grant the “Location” permission and “Scan/Connect nearby devices” permission to the Lotte Pai APP. (Different mobile phone brands, the permission description here will be different)
Step 4
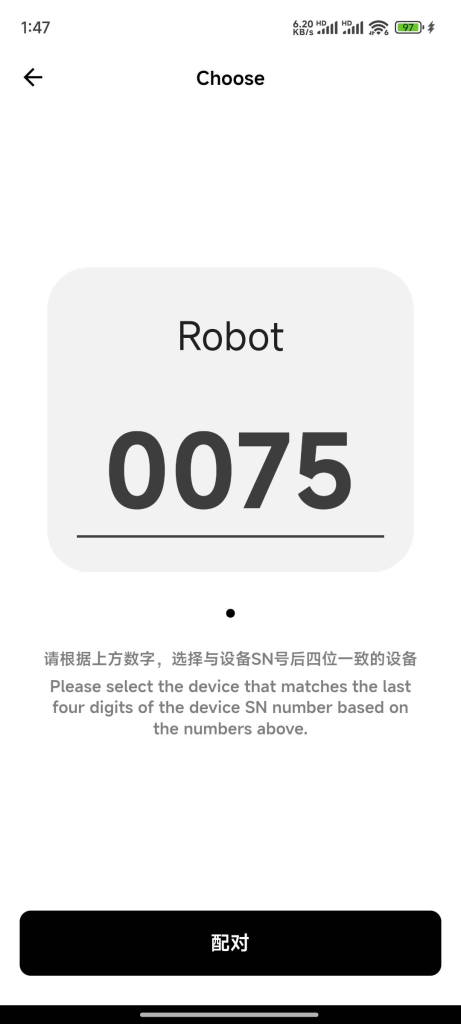
Select the device that matches the device number on the robot screen. Confirm that the robot number displayed on the phone is consistent with the number displayed on the robot screen. After clicking “Start Pairing”, click “Confirm Activation” to activate.
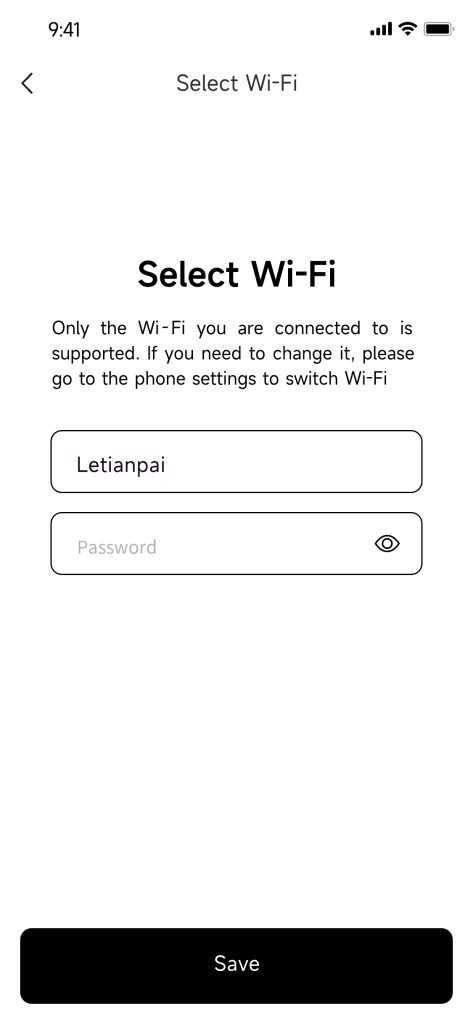
The system will know that the phone is connected to Wi-Fi, and you will need to enter the Wi-Fi password. If the Wi-Fi name is not obtained or you need to connect to another Wi-Fi, you need to manually enter the Wi-Fi name and then enter the password. After clicking “Save”, the device will start to be connected. After a short wait, the matching will be completed.
Step 5
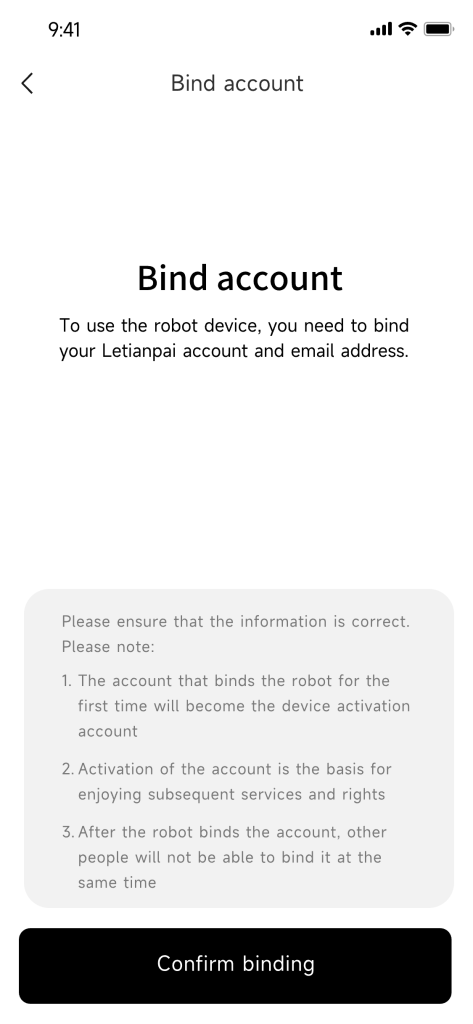
After the binding is successful, you can quickly learn how to use the robot. After learning is completed, you will enter the device page and start using it.

